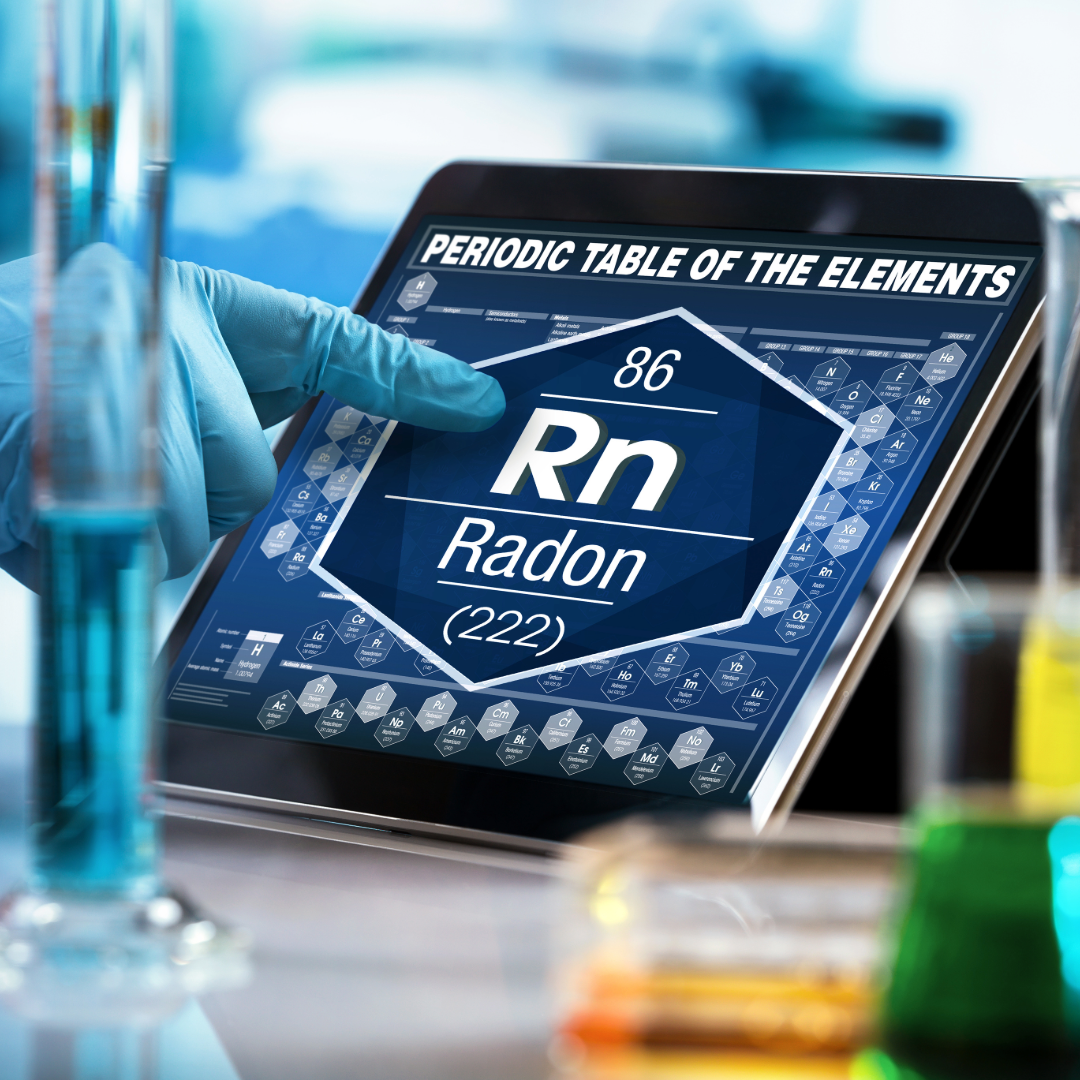
Kidz Korner: Water Filtration Experiment at Home🧪

Ready for a fun experiment? Let’s make the water dirty and clean it up! 🥛🔎

Materials Needed:

  • A plastic bottle (cut in half)
  • Coffee filter or cloth
  • Sand and gravel
  • Activated charcoal (optional)
  • Dirty water (from mud or food coloring mixed in water)
  • A clean glass

Steps:

  1. Place the bottle upside down, using the top as a funnel.
  2. Layer the coffee filter, activated charcoal, sand, and gravel inside.
  3. Slowly pour the dirty water into the top and watch as it filters through.
  4. Observe the cleaner water that comes out at the bottom.

What Kids Learn:

  • How filtration helps clean water.
  • The role of different layers in removing dirt and contaminants.
  • Why it’s important to have clean drinking water.

Take a short video or photo of your homemade water filtration and post it on our social media pages with #kidzkorner for a shout-out.

Hotline🔥Hot🔥Topic: Sharing a Well

Thinking of Sharing a Water Well with Your Neighbor? Here’s What You Need to Know

Sharing a water well can be a practical and cost-effective solution for neighbors, but it also comes with important legal, financial, and maintenance considerations. Before you agree to share your well—or tap into a neighbor’s—understanding the ins and outs of a shared well arrangement is essential.

From legal requirements to maintenance responsibilities, this FAQ covers the key questions homeowners often have about shared wells. Whether you’re considering an agreement or already sharing a well, these insights will help you navigate the process smoothly.

Is it legal to share a water well with my neighbor?

Yes, but the legality depends on local and state regulations. Some areas may require permits, water rights agreements, or compliance with health and environmental codes. It’s best to check with your local agencies before proceeding.

Should we have a written agreement?

Absolutely. A shared well agreement helps prevent misunderstandings and sets clear terms for usage, maintenance, costs, and dispute resolution. Having it legally documented can protect both parties in case of future disagreements.

What should be included in a shared well agreement?

A shared well agreement should cover, but is not limited to:

  • Water Usage – How much water each party can use.
  • Maintenance & Repairs – Who is responsible for the upkeep, and how costs will be split.
  • Electricity Costs – How you will share the power used by the well pump.
  • Liability & Dispute Resolution – What happens if something goes wrong.
  • Termination Clause – How either party can end the arrangement if needed.

Who pays for maintenance and repairs?

This should be outlined in your agreement. Typically, costs are shared equally, but if one party uses significantly more water, they may be responsible for a larger portion.

Can my neighbor claim ownership of my well?

No, unless you legally transfer ownership or grant them water rights. A shared well agreement ensures that you remain the well owner while allowing water access to your neighbor under agreed terms.

What if my neighbor overuses the water or doesn’t pay their share?

A shared well agreement should include provisions for overuse, non-payment, and consequences for violating the terms. You may have legal options if the agreement is breached.

Are there water quality concerns when sharing a well?

Yes. Regular water testing should be done to ensure it meets health standards. If contamination occurs, both parties need to resolve the issue.

Can I stop sharing the well if I change my mind?

This depends on your agreement. If there’s a termination clause, you can follow the outlined process to end the arrangement. If no formal agreement exists, local laws may determine how you can discontinue access.

Do I need to notify the government about a shared well?

Some areas require registration or reporting to local agencies. Check with your county to confirm.

What if I sell my property?

If the shared well agreement is legally binding, it may transfer to the new owner. Ensure the buyer understands the arrangement before purchasing the property.

Download our information sheet on Sharing a Well and sample Shared Well Agreement. Contact an attorney for assistance with a shared well agreement and understanding laws in your state. Your state Bar Association may have resources to help find an attorney.

Septic System Maintenance: Preventing Problems Before They Start

A well-maintained septic system protects both your home and your well water from contamination.

Best Practices for Septic Care:

  • Pump the tank every 3–5 years (or as recommended by your septic professional)
  • Use water efficiently to reduce strain on the system
  • Avoid flushing anything besides toilet paper and human waste

Warning Signs of Septic Issues:

  • Slow drains or gurgling pipes
  • Unpleasant odors near the drain field
  • Soggy ground or standing water around the septic area

How Your Septic System Affects Your Well Water:

  • A failing septic system can introduce bacteria and nitrates into your well
  • Proper placement: Your septic tank should be at least 50 feet from your well, check local regulations
  • Routine inspections help prevent costly repairs and water contamination

Pro Tip: Use septic-safe cleaning products to avoid disrupting beneficial bacteria in the tank.

See our information sheet, Your Septic System for more best practices.

Water Treatment System Care: Keeping Your System Effective

If you use a water treatment system
(filtration, softener, UV disinfection, etc.),
regular maintenance is crucial for its effectiveness. Please note that not all water wells need to have treatment. The information below is for homes with treatment only. Keep in mind that these are only suggestions for maintenance. You should always follow the maintenance schedule provided by your water treatment professional.

Routine Maintenance for Common Systems:

  • Sediment Filters: Replace every 3–6 months to prevent clogging
  • Water Softeners: Check salt levels monthly; clean brine tank annually
  • Reverse Osmosis (RO) Systems: Replace pre-filters every 6–12 months; membranes every 2–5 years
  • UV Purification: Replace UV bulbs annually for optimal disinfection

Signs Your System Needs Attention:

  • Water has an off taste or odor
  • Scale buildup or staining returns
  • Reduced water pressure or slow filtration

Pro Tip: Follow the manufacturer’s maintenance schedule and keep records of filter changes and service.

For more water treatment tips, check out our information sheet here.

🔧 Well Maintenance: Protect Your Water Source

A properly maintained well helps to ensure water safety and extends the lifespan of your system. Click here to view our interactive sample water well system.

Annual Inspections:

  • Check for cracks, leaks, and signs of contamination
  • Ensure the well cap is securely in place
  • Look for standing water or debris near the wellhead

DIY Maintenance Tips:

  • Keep chemicals (fertilizers, pesticides, fuel) at least 100 feet away. For more distance recommendations, check out this graphic –Wells and Contamination Sources – from Tap Score
  • Maintain proper drainage to prevent surface water from pooling near the well
  • Avoid overgrowth of grass and weeds near the wellhead
  • Do not plant around or place decor near or on top of the wellhead

When to Call a Professional:

  • Reduced water pressure or sputtering faucets
  • Changes in taste, color, or odor
  • Sand or sediment in water
  • Every 5 years for complete well inspection

Pro Tip: Please do not try to service your well unless you are a licensed professional.

Click here to view our information sheet on Well Maintenance.

*********************************************************************

❄️Still need to de-winterize your well system? Read our information sheet before you start!☀️

🚰 Water Testing: What’s in Your Water️

Regular water testing is the first step to ensuring the safety of your drinking water. Private well owners are solely responsible for the quality of their drinking water, so it is up to you to decide when and how to test your water.

Contaminants can enter your well from natural sources, nearby septic systems, or agricultural runoff. The list below highlights what you should test for, how often to test your water, and where you can go to have water testing done.

What to Test For:

  • Bacteria (e.g., coliform and E. coli) – Indicators of contamination
  • Nitrates – Often linked to fertilizers and septic system leaks
  • pH Levels – Can indicate corrosive water that affects plumbing
  • Heavy Metals (e.g., arsenic, iron, lead) – Can leach from soil or pipes
  • Other Contaminants – Pesticides, PFAS, volatile organic compounds (VOCs), and more depending on location

Testing Frequency:

  • Annually for bacteria and any contaminants you are monitoring
  • More frequently if changes in taste, odor, or color occur
  • After flooding, system repairs, or known contamination events

Where to Test:

  • Certified labs (use our interactive map to locate one in your area!)
  • Testing services like Tap Score
  • At-home test kits can be used for preliminary screening or in emergencies

Pro Tip: Keep records of your test results to track changes over time.

Additional well water testing guidance can be found in our learning moduleinformation sheet, or brochure.

Follow us on Facebook and X for more water testing tips!

Flow Ahead: Ensuring Clean, Safe Water for Your Home

A well-functioning water system is essential for clean and safe water. There are four critical areas of well ownership: water testing, well maintenance, water treatment system care, and septic system maintenance. Spring is the perfect time to tackle this list. By staying proactive, you can ensure a safe and reliable water supply for years to come.

Check out our NEW video featuring our popular Well Owners Manual https://youtu.be/pywg5ahW_Ek. This 32-page guide helps you understand your well system, provides maintenance tips, an easy-to-follow checklist, and a section to keep all your well records. Want to download a free copy? Head over to our web page wellcarehotline.org/well-owners-manual.

The wellcare® Hotline can also help! Our friendly staff members are available to answer your questions and provide you with any information you need to maintain a safe water supply. Contact us by calling 888-395-1033 or chat with us live at wellcarehotline.org.

Hotline🔥Hot🔥Topic: Contaminants of Emerging Concern (CECs) & Well Water

Contaminants of Emerging Concern (CECs) refer to substances that are gaining attention due to their potential to harm human health and the environment. These contaminants can come from pharmaceuticals, personal care products, industrial chemicals, and other synthetic materials. They can enter the groundwater through wastewater discharges, runoff from agriculture, and even household waste. CECs are a growing concern for water wells, particularly in areas where wells draw from shallow aquifers or where local groundwater is vulnerable to contamination.

While CECs can be found in groundwater year-round, they have the potential to be more of an issue in winter months for a few important reasons:

  1. Increased Runoff and Leaching: In many areas, winter brings more precipitation (rain or snowmelt). This can lead to increased runoff, which may carry contaminants into groundwater. Frozen ground can also limit the natural filtration of contaminants, allowing them to travel more easily into groundwater.
  2. Septic System Overload: In colder months, septic systems can become less efficient due to freezing temperatures. If a septic system fails or becomes overloaded, CECs from household waste can leach into the groundwater.
  3. Reduced Dilution: In the winter, these contaminants are frequently less diluted than at other times of the year due to reduced water flow in rivers, streams, and aquifers (it is considered the “dry season”). This can increase the concentration of CECs in groundwater.

If you’re concerned about CECs in your well water, it’s important to test it regularly especially if you live in an area where these substances are more likely to enter the groundwater. By taking preventative measures, you can ensure the safety of your well water.

You can use our interactive map to find certified laboratories near you that can test your well water.

Download our wellcare® information sheet on Contaminants of Emerging Concern (CECs) & Well Water for more information.

Kidz Korner 🥄 Make an Edible Aquifer 🍨

This fun, hands-on experiment can help you teach your children about aquifers (where the water in your well comes from). It demonstrates how pollution can get into your well water, as well as how pumping the well water causes the water table to drop. Read the instructions below for a step-by-step guide on how to make one!

Take a short video or photo of your edible aquifer and post it on our social media pages with #kidzkorner for a shout-out.

What you’ll need:

  • Small gummy bears, chocolate chips, crushed cookies, breakfast cereal, or crushed ice
  • Food coloring
  • Vanilla ice cream
  • Club soda or Sprite
  • Cake decoration sprinkles and sugars
  • Drinking straws
  • Spoons
  • Clear cups

Instructions:

  1. Fill a small, clear cup about one-third of the way with your first ingredient. This represents all of the sand, gravel, and rocks in the aquifer.
  2. Cover your “gravel, sand, and rock layer” with clear soda which represents water. This is our groundwater. See how the “water” fills in the spaces around the “gravel, sand, and rock.”
  3. Spread a layer of ice cream over the soda. This layer of our aquifer is called the confining layer, which is usually clay or dense rock. The water is confined below this layer.
  4. The next layer is our top layer of soil. Decorating sprinkles and some colored sugar can be used to represent this layer.
  5. Add some food coloring to a small amount of soda. The coloring represents pollution. Can you think of some pollutants that can affect groundwater? Watch what happens when we pour it on the land.
  6. Using your straw, drill a well (push the straw down toward the bottom of the cup) into the center of your aquifer.
  7. Slowly begin to pump the well by sucking on the straw. Watch as the water table goes down. Also, watch and see how the contaminants can get sucked into the well area and end up in the groundwater by eventually leaking through the confining layer.
  8. Pretend it’s raining and recharge the aquifer by adding more soda. A real aquifer takes a lot longer to recharge, this is just an example to speed up the process.
  9. Now it’s time to enjoy your aquifer!

Adapted from https://neponset.org/wp-content/uploads/2023/08/How-to-Make-an-Edible-Aquifer-1-1.pdf

💮 Kidz Korner: Color Changing Flowers 💮

Seeing the leaves 🍁 change in the fall is wonderful, isn’t it?? Wouldn’t it be fun if you could make some color-changing flowers right at home? Read the instructions below to find out how! Take some pictures of your color-changing flowers and post them on our social media pages with #kidzkorner if you want to show them off!

What you’ll need: 

  • White Carnations (other white flowers work as well, such as daisies, but carnations can produce a faster result)
  • Clear cups with water (at least ½ of a cup of water in each)
  • Food dye

Instructions:

  1. Cut the flowers to a length that will stand in the cups and not tip them over
  2. Fill the cups with water
  3. Add about 30 drops of food coloring in total to each cup
  4. Add 1-2 flowers to each cup
  5. Check the flowers every few hours and observe what you can see

Tip: For best results, wait 6-8 hours…24-72 hours is even better!

Did You Know?

You can see the color in the petals of the flowers because water is transported through the stem of the flower, up to the petals and leaves. After the water reaches the petals and leaves, it transpires (evaporates) out, but the dye is left behind. The more time that goes by, the more dye will end up in the petals! Pretty cool, huh?!